First Buildbot run with Docker
Note
Docker can be tricky to get working correctly if you haven't used it before. If you're having trouble, first determine whether it is a Buildbot issue or a Docker issue by running docker run ubuntu:12.04 apt-get update. If that fails, look for help with your Docker install. On the other hand, if that succeeds, then you may have better luck getting help from members of the Buildbot community.
Warning
The instruction in this document are based on an old Dockerfile, not complying with the state-of-the-art best practices (all components in one container, access via ssh, ...). While this approach provides an easy way to get first-hand experience with Buildbot, this is not the recommended way to deploy Buildbot in production.
Docker is a tool that makes building and deploying custom environments a breeze. It uses lightweight linux containers (LXC) and performs quickly, making it a great instrument for the testing community. The next section includes a Docker pre-flight check. If it takes more that 3 minutes to get the 'Success' message for you, try the Buildbot pip-based first run instead.
Current Docker dependencies
- Linux system, with at least kernel 3.8 and AUFS support. For example, Standard Ubuntu, Debian and Arch systems.
- Packages: lxc, iptables, ca-certificates, and bzip2 packages.
- Local clock on time or slightly in the future for proper SSL communication.
Installation
Use the Docker installation instructions for your operating system.
Test docker is happy in your environment:
sudo docker run -i busybox /bin/echo Success
Building and running Buildbot
# Download Buildbot Dockerfile.
wget https://raw.github.com/buildbot/buildbot/master/master/contrib/Dockerfile

# Build the Buildbot container (it will take a few minutes to download packages)
docker build -t buildbot - < Dockerfile

# Run buildbot
CONTAINER_ID=$(docker run -d -p 8010:8010 -p 22 buildbot)
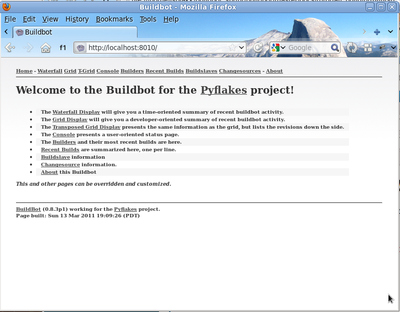
You should now be able to go to http://localhost:8010 and see a web page similar to:
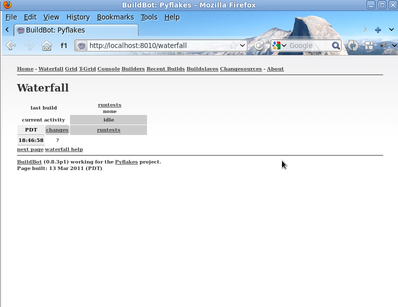
Click on the Waterfall Display link and you get this:
Playing with your Buildbot container
If you've come this far, you have a Buildbot environment that you can freely experiment with. You can access your container using ssh, the password is admin:
ssh -p $(docker port $CONTAINER_ID 22 | cut -d: -f 2) admin@localhost
You've got a taste now, but you're probably curious for more. Let's step it up a little in the second tutorial by changing the configuration and doing an actual build. Continue on to A Quick Tour.