First Buildbot run with Docker
Docker is an tool that makes building and deploying custom environments a breeze. It uses lightweight linux containers (LXC) and performs quickly, making it a great instrument for the testing community. The next section includes a Docker pre-flight check. If it takes more that 3 minutes to get the 'Success' message for you, try the Buildbot pip-based first run instead.
Current Docker dependencies
- Linux system, with at least kernel 3.8 and AUFS support. For example, Standard Ubuntu, Debian and Arch systems.
- Packages: lxc, iptables, ca-certificates, and bzip2 packages
- Local clock on time or slightly in the future for proper SSL communication
- Download, launch and test docker is happy in your linux enviroment:
mkdir tmp; cd tmp
wget -O docker http://get.docker.io/builds/Linux/x86_64/docker-latest
chmod 755 docker; sudo ./docker -d &
sudo ./docker run -i busybox /bin/echo Success
Building and running Buildbot
# Download Buildbot Dockerfile.
wget https://raw.github.com/buildbot/buildbot/master/master/contrib/Dockerfile

# Build the Buildbot container (it will take a few minutes to download packages)
sudo ./docker build -t buildbot - < Dockerfile

# Run buildbot
CONTAINER_ID=$(sudo ./docker run -d buildbot)
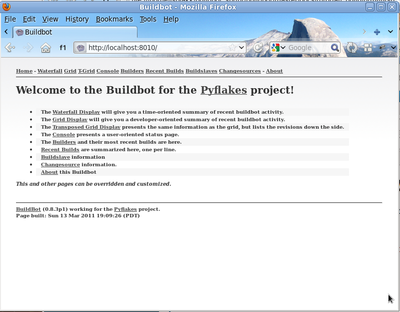
You should now be able to go to http://localhost:8010 and see a web page similar to:
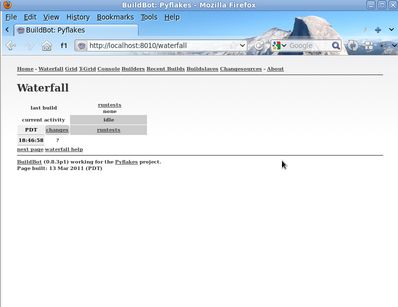
Click on the Waterfall Display link and you get this:
Playing with your Buildbot container
If you've come this far, you have a Buildbot environment that you can freely experiment with. You can access your container using ssh (username: admin, password: admin):
ssh -p $(sudo ./docker port $CONTAINER_ID 22) admin@localhost
You've got a taste now, but you're probably curious for more. Let's step it up a little in the second tutorial by changing the configuration and doing an actual build. Continue on to A Quick Tour